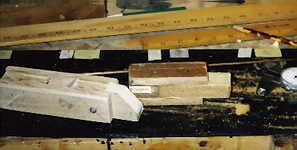
Selection, splitting and staggering.
Step two
Straightening
Step threeBasic Beveling

m
 m fly rods
Heat treating
Step five Hand planing 1
Hand planing 2
Step sixHand planing 2
Gluing
Step sevenFinal dimensions
Step eightAttaching hardware
Step nineWrapping
Step tenFinish
Rod sock and tube
Step 12 Shipping and
Customer care.
home
Here's where the extra 3" on each end of the section comes in. I check my dimensions by placing a small strip of tape every 5 inches on my sawhorse, then I write the target size of the taper for each station.. Next I use dial calipers to check against the actual size against my target. I move the section back and forth until the smallest size on the section lines up with the same size on workspace. I use a small sanding block to bring any over sized portions of the section in line.